Fence post caps – It is possible to build a fence to provide a secure border around your property or to improve the view from your patio. When the construction of a fence, the cost and durability of the material are considerations. Although there are many different materials and styles to choose from, most fences include fence posts. Fence posts add beauty and style to the top of the civilian fence posts. Although the fence post covers are available in various materials and designs, you can make your own basic covers with a few simple materials.
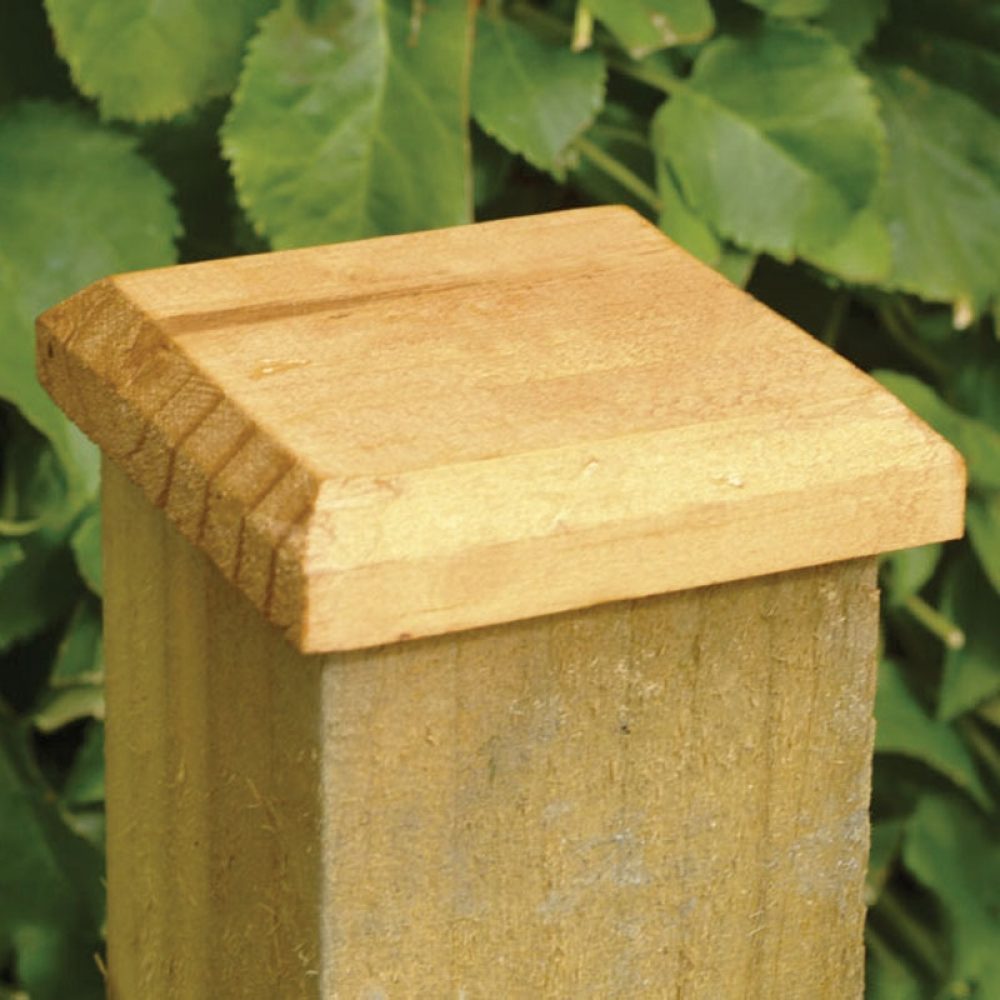
Ideas for make your own fence post caps. Cut the wood 2 inches by 8 inches in pieces of 8 inches long. This creates squares for the fence posts. Cut as many squares as you have fence posts. Tilt the saw table to 15 degrees. Adjust the angle if a steeper or shallower point of the lid is desired. Clamp a height board to the saw guide. Support a PAC square after on its 2 inch side on the top table saw. Attach a piece of scrap wood to the PAC square afterwards.
12 Photos Gallery of: Make Your Own Fence Post Caps


Then for make your own fence post caps. Slide the post cover on the saw to cut the beveled edge. Repeat this procedure for all four sides of the back cover. Repeat the beveling process for the remaining PAC squares. Revise the surface of the post sleeves with 120 grit sandpaper. Of spots or paint the covers if you wish. Allow the stain or paint to dry completely. Attach a cap to the top of each fence post with wood adhesive.